How to use NotebookLM Mind Map: 10 Use Cases
Raman Singh
Raman Singh is a highly skilled marketing professional who serves as the head of marketing at Copyrocket AI

You can use the mindmap feature of NotebookLM to turn your sources into a clear topic tree. You can then use that tree to plan writing, study faster, prepare meetings, and spot gaps in your research.
This post shows the exact steps to create a mind map in NotebookLM, how to use the mind mapping method, and 10 practical use cases you can copy today.
Key Takeaways
- You can create a NotebookLM mind map after you add sources to a notebook.
- A mind map helps you group ideas, find missing sections, and plan next actions.
- You can use mind maps for study notes, content outlines, project plans, and meeting prep.
- You can improve results by using clean sources, clear titles, and focused notebooks.
- ChatGPT can generate a mind map as text (Markdown or Mermaid), but NotebookLM links the map to your sources.
- You can use Coggle for manual mind mapping, then import the structure into your writing plan.
What the NotebookLM mind map feature does
NotebookLM can read the sources you add to a notebook and generate a mind map that groups key ideas into branches. You can use the map as a visual outline. You can also use it as a checklist for what to read next or what to write next.
Why mind maps work well inside NotebookLM
- Source-grounded structure: The map reflects what your documents say, so you start from evidence.
- Fast overview: You can scan the full topic in one view.
- Gap spotting: You can see missing branches, weak areas, and repeated ideas.
- Outline-friendly: You can convert branches into headings for a doc, deck, or script.
What you need before you create a mind map
- A NotebookLM account.
- A notebook with at least a few sources.
- Sources that match one topic (or one project) so the map stays clean.
How to use mindmap feature of NotebookLM (step-by-step)
Use these steps to create your first NotebookLM mind map. The exact button labels can change over time, but the workflow stays the same: create a notebook, add sources, then generate the map.
Step 1: Create a notebook for one clear goal
- Create a new notebook.
- Name it with a clear goal, such as “Q1 marketing plan,” “Biology exam,” or “Client onboarding.”
- Keep one main topic per notebook.
Step 2: Add sources that match the goal
- Add PDFs, Google Docs, copied text, links, or notes (based on what NotebookLM supports in your region).
- Use 5–20 sources for a strong first map.
- Rename sources with clear titles, such as “Policy v3,” “Interview notes,” or “Chapter 6 summary.”
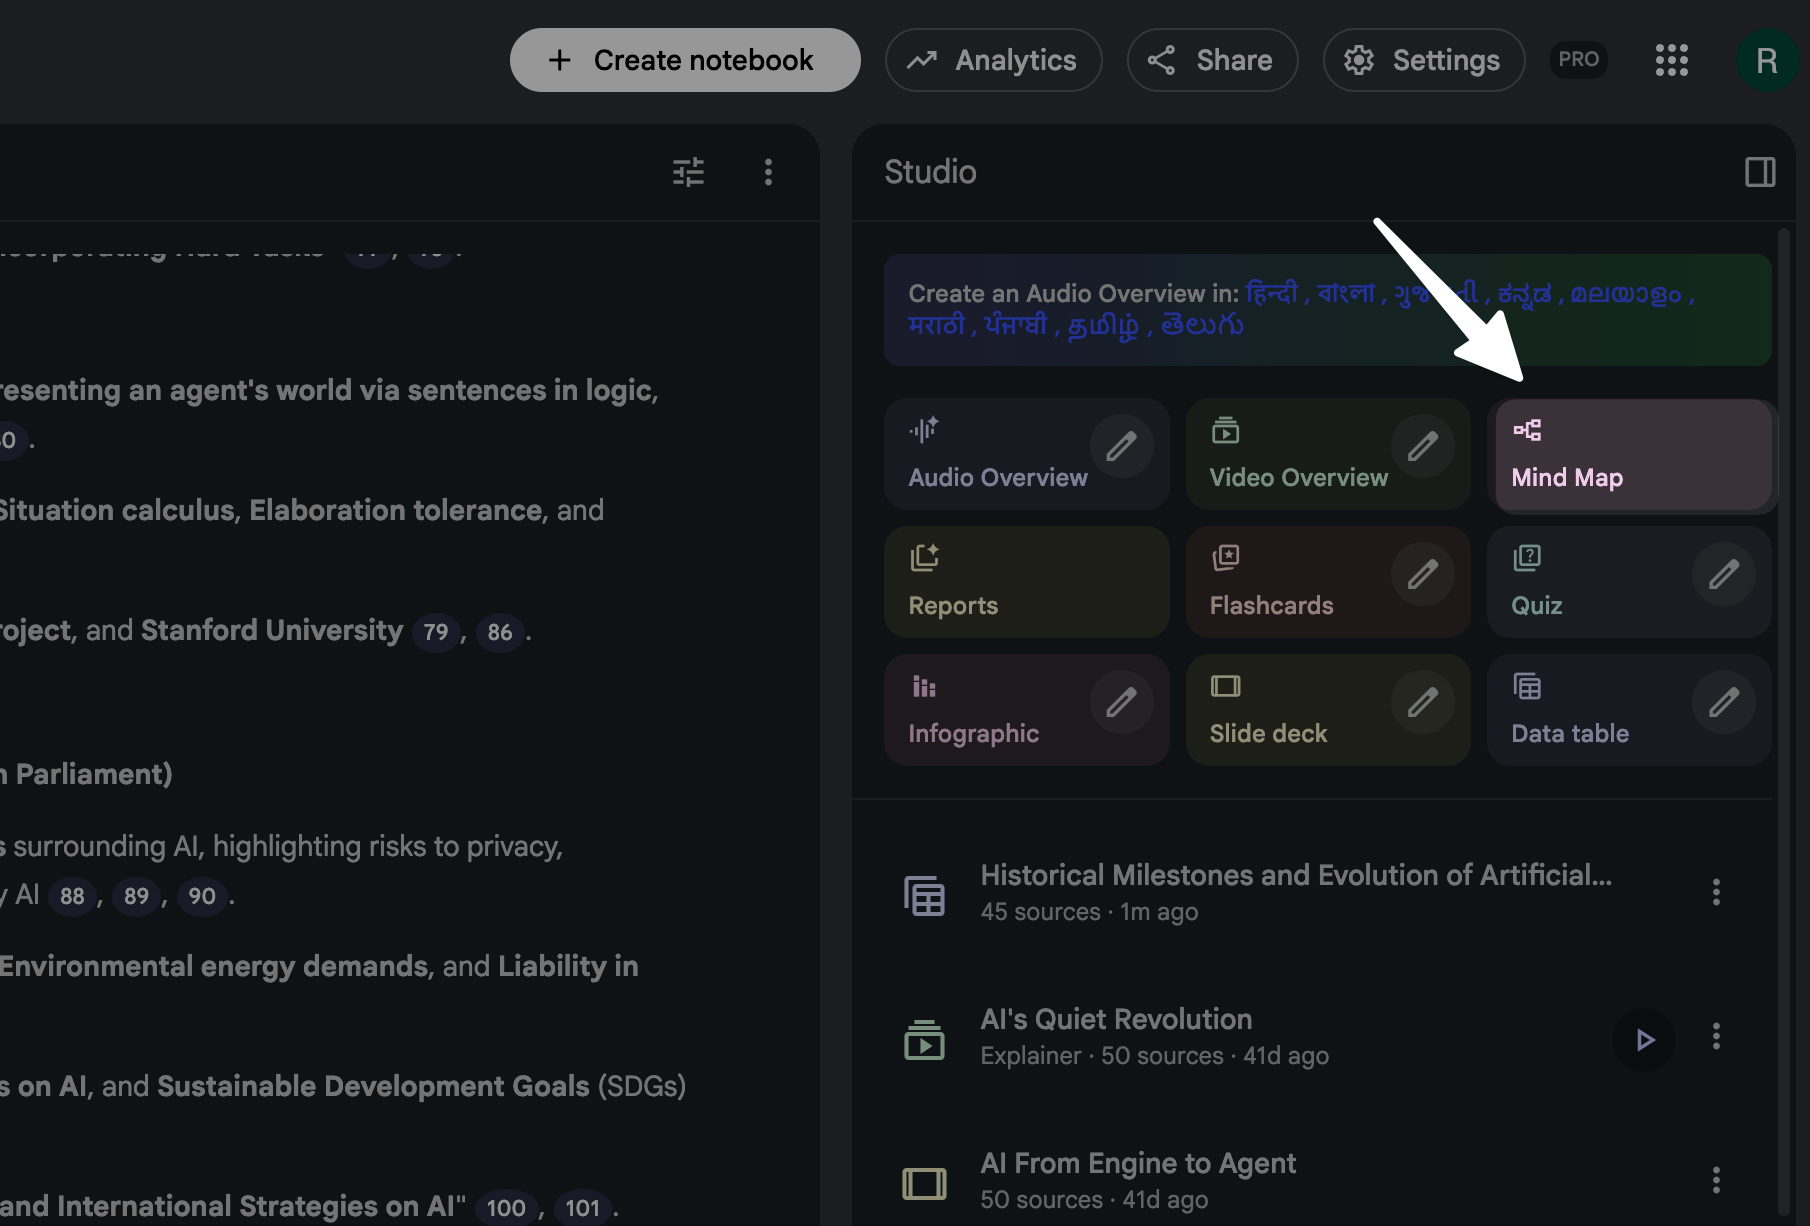
Step 3: Open the mind map tool
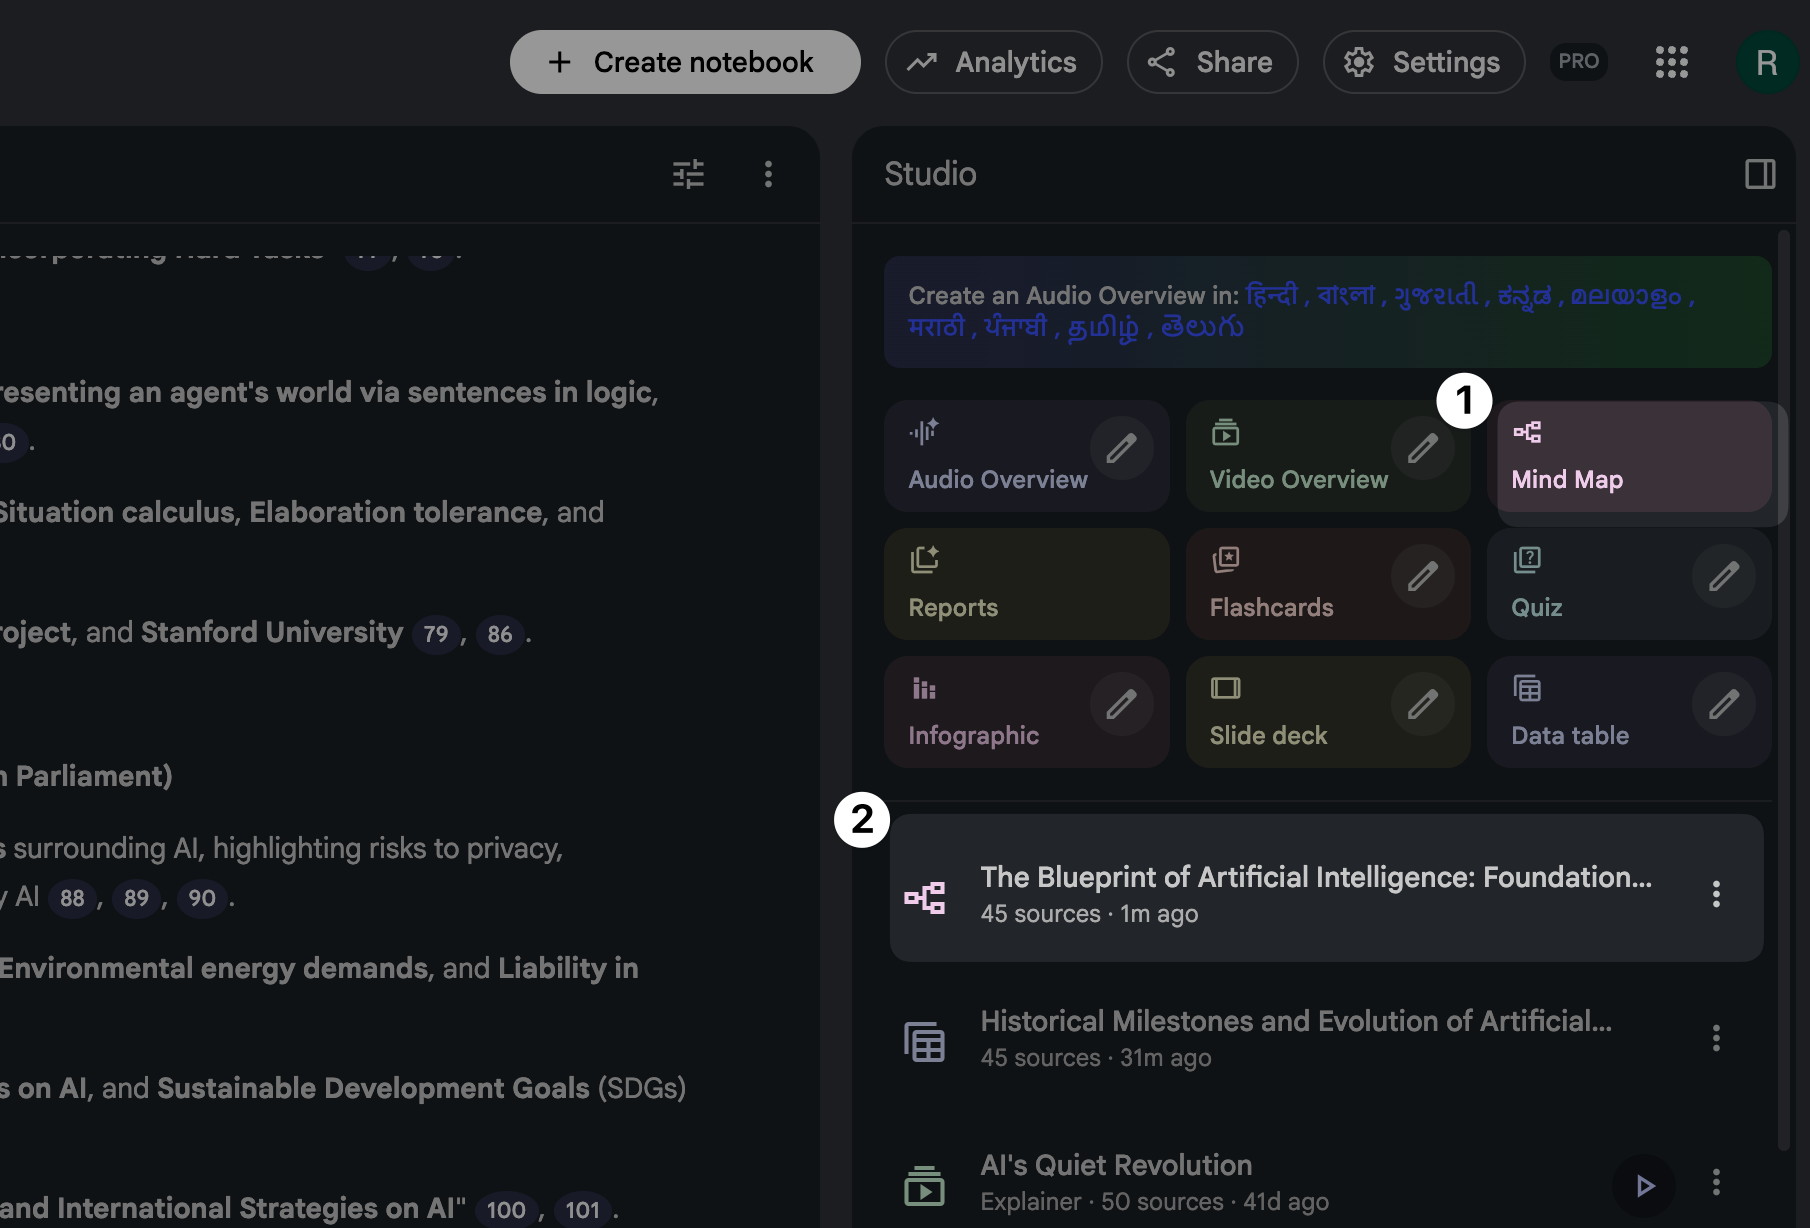
- Open your notebook.
- Find the mind map option in the notebook studio tools area.
- Click to generate the mind map.
Step 4: Review the top-level branches first
- Read the main branches and check if they match your goal.
- If the branches feel off-topic, remove unrelated sources and regenerate.
- If the branches feel too broad, split the notebook into two smaller notebooks.
Step 5: Expand branches and label your next actions

- Expand a branch to see subtopics.
- Mark weak branches that need more sources.
- Turn each branch into a task, such as “write section,” “find data,” or “confirm definition.”
Step 6: Convert the map into an outline for writing or study
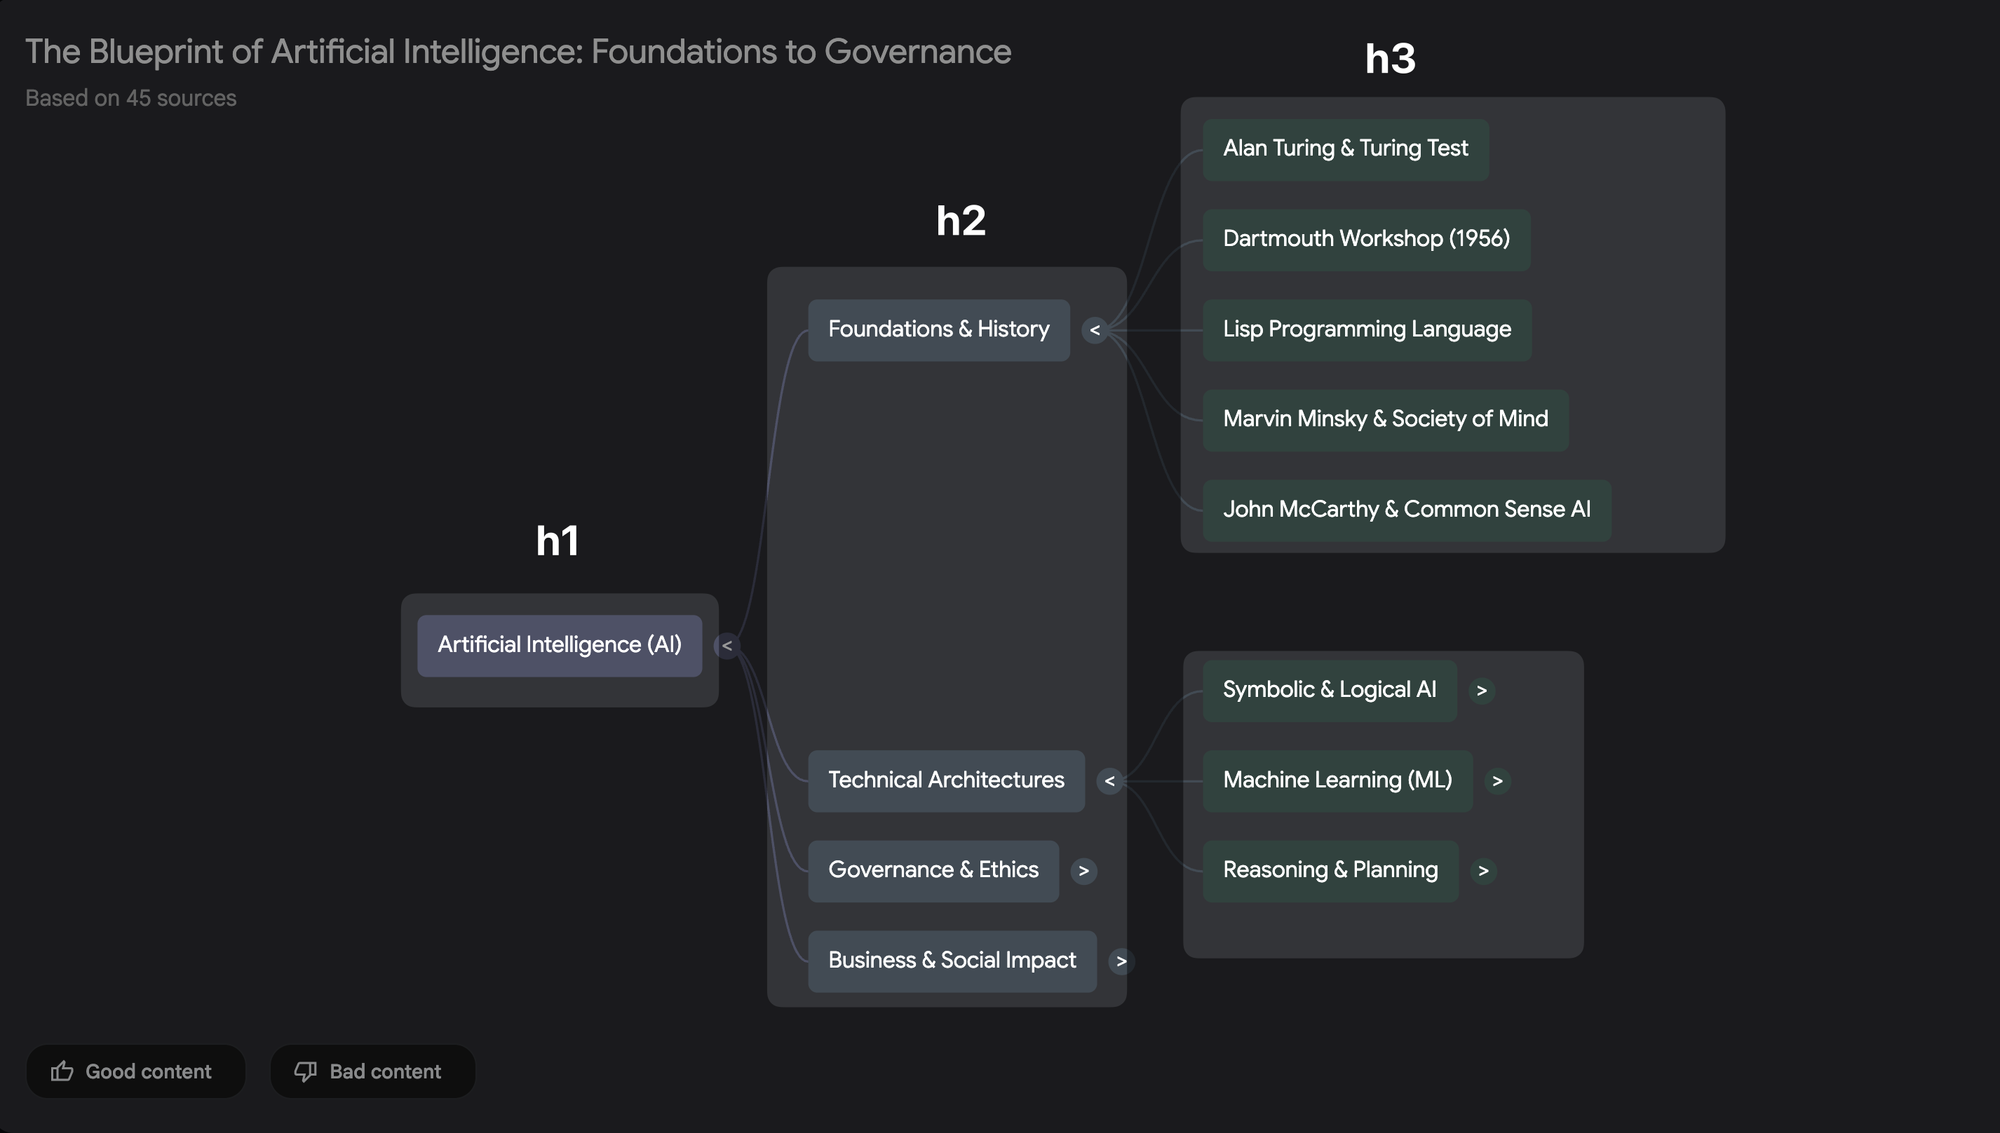
- Use the top-level branches as H2 sections.
- Use sub-branches as H3 sections.
- Write one paragraph per node before you polish style.
How to use the mind mapping method (simple method you can repeat)
The mind mapping method works in any tool. You start with one main topic, then you add branches for major parts, then you add smaller branches for details. You keep each node short. You use verbs for action nodes and nouns for concept nodes.
Step 1: Write one clear central topic
- Use a short phrase, such as “Launch plan,” “Chapter 4,” or “Hiring process.”
- Avoid vague topics like “Business” or “Health.”
Step 2: Add 5 to 9 main branches
- Use categories that match the job.
- Examples for a launch plan: Audience, Offer, Channels, Budget, Timeline, Risks, Metrics.
Step 3: Add sub-branches that answer one question
- Use “What?” “Why?” “How?” “Who?” “When?” “Where?”
- Example: Channel → Email → Sequence → Subject lines.
Step 4: Keep each node short and specific
- Use 1–5 words per node.
- Use consistent labels, such as all nouns or all verbs under one branch.
Step 5: Use the map to decide next actions
- Circle nodes that need research.
- Star nodes that need writing.
- Cross out nodes that do not support the goal.
10 use cases for the NotebookLM mind map feature
These use cases show how to use mindmap feature of NotebookLM for real work. Each use case includes a clear goal, a setup, and a simple workflow you can follow.
Use case 1: Turn scattered research into a clean article outline
- Goal: Write a blog post or report from many sources.
- Setup: Add studies, competitor posts, internal notes, and interview transcripts.
- Workflow:
- Generate the mind map.
- Use top branches as article sections.
- Use sub-branches as talking points.
- Add a “Gaps” branch for missing facts and examples.
- Result: You get an outline that matches your sources and reduces blank-page time.
Use case 2: Build a study map for an exam
- Goal: Study faster and remember more.
- Setup: Add lecture slides, textbook chapters, and your notes.
- Workflow:
- Generate the mind map for the full unit.
- Expand each branch and mark weak areas.
- Create a “Practice” sub-branch with question types.
- Use the map as a revision checklist.
- Result: You study by topic coverage, not by page count.
Use case 3: Create a meeting brief from long documents
- Goal: Lead a meeting with clear points and decisions.
- Setup: Add proposals, emails, and prior meeting notes.
- Workflow:
- Generate the mind map.
- Create a branch called “Decisions needed.”
- Create a branch called “Open questions.”
- Use the map to write a one-page agenda.
- Result: You reduce meeting drift and repeat questions.
Use case 4: Plan a YouTube video or podcast episode
- Goal: Create a clear script that stays on topic.
- Setup: Add research links, past scripts, and key quotes.
- Workflow:
- Generate the mind map.
- Use branches as segments (Hook, Problem, Steps, Examples, Mistakes, Wrap-up).
- Add a “Stories” branch for real examples.
- Turn each node into a short spoken paragraph.
- Result: You get a script that sounds structured and natural.
Use case 5: Write a product requirements doc (PRD) from inputs
- Goal: Align product, design, and engineering.
- Setup: Add user feedback, support tickets, analytics notes, and competitor notes.
- Workflow:
- Generate the mind map.
- Create branches: User problem, Constraints, Success metrics, Scope, Out of scope.
- Add sub-branches for each user segment and scenario.
- Use the map to draft PRD sections.
- Result: You reduce scope confusion and missing requirements.
Use case 6: Prepare for an interview (job or research)
- Goal: Ask better questions and give clear answers.
- Setup: Add the job description, company pages, and your resume notes.
- Workflow:
- Generate the mind map.
- Create a branch for “My proof” with project examples.
- Create a branch for “Questions to ask.”
- Practice by walking the branches in order.
- Result: You answer with structure and you avoid rambling.
Use case 7: Turn customer calls into a theme map
- Goal: Find patterns in customer pain points.
- Setup: Add call transcripts, survey responses, and support chat exports.
- Workflow:
- Generate the mind map.
- Rename branches into clear themes (Pricing, Onboarding, Bugs, Speed, Reporting).
- Add sub-branches for quotes and examples.
- Create an “Impact” sub-branch with frequency and severity notes.
- Result: You get a theme map you can share with leadership.
Use case 8: Plan a course, workshop, or training session
- Goal: Build a course plan with clear lessons and exercises.
- Setup: Add references, lesson notes, and examples.
- Workflow:
- Generate the mind map.
- Use branches as modules.
- Add sub-branches for demos, exercises, and quizzes.
- Add a “Common mistakes” branch per module.
- Result: You get a course outline that supports learning flow.
Use case 9: Create a legal or policy summary map
- Goal: Explain a policy to a team in plain language.
- Setup: Add policy docs, contracts, and internal guidelines.
- Workflow:
- Generate the mind map.
- Create branches: Definitions, Requirements, Exceptions, Deadlines, Owners.
- Add a “Do / Do not” sub-branch for each requirement.
- Use the map to write a one-page policy cheat sheet.
- Result: You reduce misreads and missed steps.
Use case 10: Build a project plan that stays realistic
- Goal: Plan tasks, owners, and risks in one view.
- Setup: Add project notes, stakeholder emails, and requirements.
- Workflow:
- Generate the mind map.
- Create branches: Deliverables, Milestones, Dependencies, Risks, Stakeholders.
- Add owners and dates as short tags in node names.
- Use the map to build a task list in your project tool.
- Result: You see scope, risk, and sequence at the same time.
Tips to get better mind maps in NotebookLM
Small changes in your inputs can improve the quality of the mind map. Use these tips before you regenerate a map.
Keep the notebook topic narrow
- Use one notebook per project or per class unit.
- Split mixed topics into separate notebooks.
Use clean source titles
- Use titles that describe the content, such as “2026 budget draft” or “User interview set 2.”
- Avoid “Document 1” and “Notes final final.”
Add one summary note per source
- Write 3–5 bullet points for each source.
- Include key terms you want the map to reflect.
Regenerate after you remove noise
- Remove repeated drafts and off-topic links.
- Regenerate the map and compare branch clarity.
Turn branches into actions
- Add verbs to task nodes, such as “Draft,” “Verify,” “Collect,” “Email,” “Measure.”
- Keep action nodes separate from concept nodes.
Can ChatGPT generate a mindmap?
Yes. ChatGPT can generate a mind map as text. ChatGPT can output a mind map in bullet form, in Markdown, or in Mermaid syntax. You can then paste that structure into a mind map tool. ChatGPT works best when you give a clear topic, a target audience, and 5–10 key points you want included.
Example: ChatGPT mind map in simple bullets
- Central topic: NotebookLM mind map
- Setup
- Create notebook
- Add sources
- Generate map
- Use cases
- Study
- Writing
- Meetings
- Tips
- Narrow topic
- Clean titles
- Setup
Example: ChatGPT mind map in Mermaid
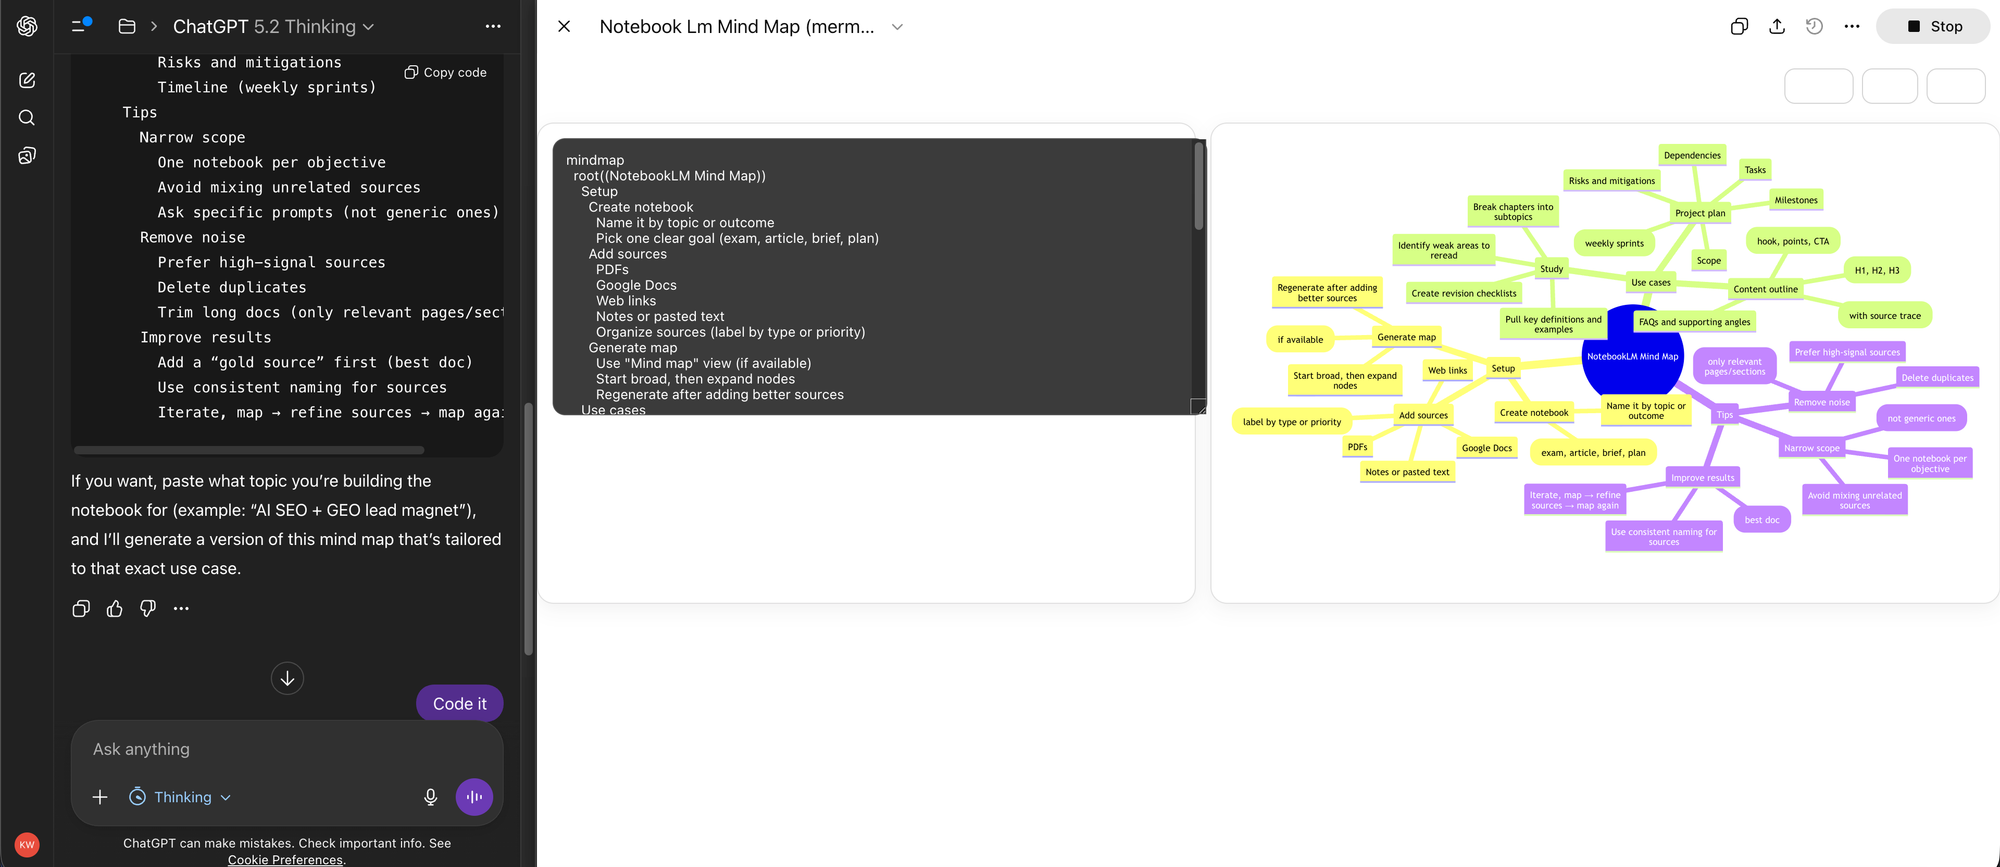
mindmap
  root((NotebookLM Mind Map))
    Setup
      Create notebook
      Add sources
      Generate map
    Use cases
      Study
      Content outline
      Project plan
    Tips
      Narrow scope
      Remove noise
Check the sample chatgpt chat here.
NotebookLM vs ChatGPT for mind maps
- NotebookLM: Builds a map from your sources and keeps you close to evidence.
- ChatGPT: Builds a map from your prompt and general knowledge, unless you paste sources.
- Best workflow: Use NotebookLM to extract structure from sources, then use ChatGPT to rewrite the outline for tone and flow.
What are some uses for the mind map?
A mind map helps you organize information and plan output. You can use it for learning, writing, decisions, and planning. The best use depends on your goal and your time limit.
Quick list of high-value uses
- Outline a blog post, essay, or report.
- Study a unit and track weak topics.
- Plan a project with tasks and dependencies.
- Prepare a meeting agenda and decision list.
- Summarize a book or long PDF into themes.
- Map customer feedback into product themes.
- Plan a course module and exercises.
- Prepare interview answers and questions.
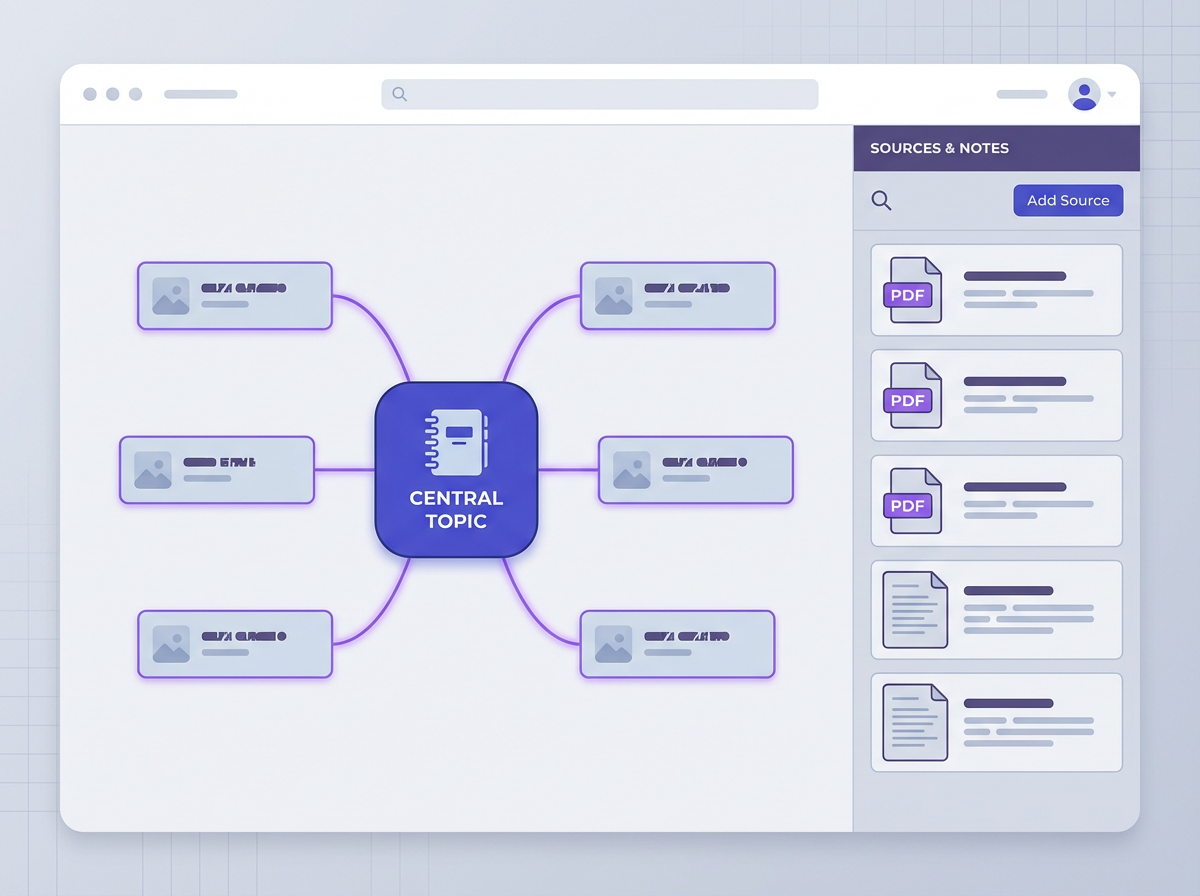
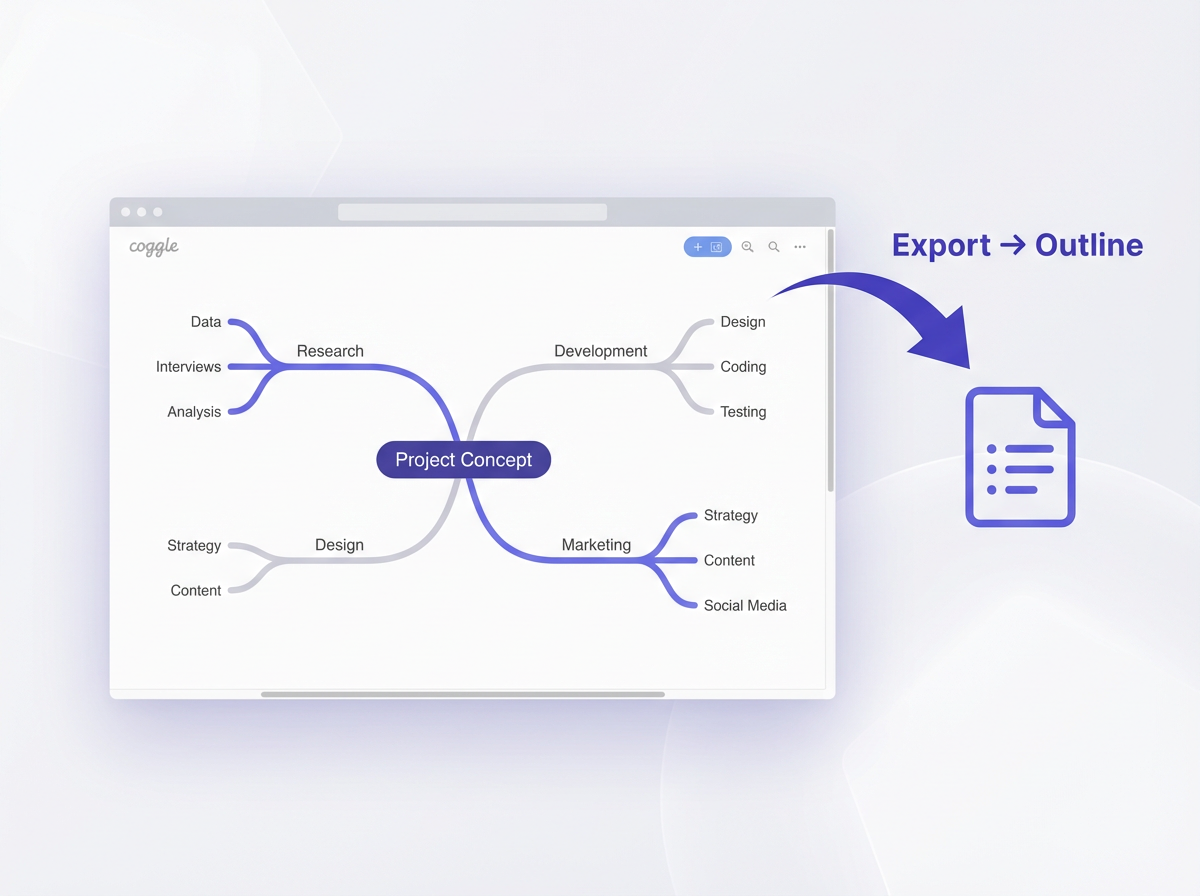
How to use Coggle mind map (quick steps)
Coggle is a manual mind mapping tool. You create nodes yourself. This approach works well when you want full control over labels and layout. You can also use Coggle after you use NotebookLM, since NotebookLM can give you the first draft structure.
Step 1: Create a central node
- Create a new diagram.
- Type your main topic in the center.
Step 2: Add main branches
- Add 5–9 branches for major categories.
- Use short labels with clear nouns.
Step 3: Add sub-branches for details
- Add sub-branches that answer one question per node.
- Keep each node short.
Step 4: Use colors and icons with a rule
- Use one color per branch to help scanning.
- Use one icon rule, such as a star for priority or a check for done.
Step 5: Export and use the map in your workflow
- Export as PNG or PDF for sharing.
- Turn branches into headings for a doc or slides.
Frequently Asked Questions (FAQs)
How do I start if my NotebookLM mind map looks messy?
Remove off-topic sources, rename sources with clear titles, and regenerate the map. Keep one goal per notebook.
How to use the mind mapping method if I feel stuck?
Write one central topic, add 5–9 main branches, then add sub-branches that answer “what, why, how, who, when.” Keep each node short.
Can ChatGPT generate a mindmap for my notes?
Yes. Paste your notes and ask for a bullet mind map or Mermaid mind map. Check the output against your sources for accuracy.
What are some uses for the mind map in daily work?
You can use it for meeting briefs, project plans, writing outlines, study plans, and customer feedback themes.
How to use Coggle mind map with a NotebookLM outline?
Copy the branch list from NotebookLM, paste it into your planning notes, then recreate the same branch structure in Coggle for manual editing and sharing.
What is the best way to turn a NotebookLM mind map into a finished draft?
Use top branches as section headings, write one paragraph per node, then revise for flow and add examples. Keep each section tied to your sources.
Final Thoughts
The mindmap feature of NotebookLM gives you a fast, source-based view of any topic. You can use it to plan writing, study with focus, prepare meetings, and run projects with fewer surprises. Create one notebook per goal, add clean sources, generate the map, and turn branches into actions. If you want a simple next step, pick one use case from this post and build a notebook today, then generate your first mind map and convert it into a one-page outline.
Frequently Asked Questions

Written by
Raman Singh
Raman Singh is a highly skilled marketing professional who serves as the head of marketing at Copyrocket AI. With years of experience in the field, Raman has developed a deep understanding of all asp
View all postsYour AI Marketing Agents
Are Ready to Work
Stop spending hours on copywriting. Let AI craft high-converting ads, emails, blog posts & social media content in seconds.
Start Creating for FreeNo credit card required. 50+ AI tools included.
Related Articles
 General
NotebookLM For Coders: Turn Docs Into Faster Code
Code work often fails for a simple reason. You do not have the right context at the right time. You read docs in one tab, skim tickets in another tab, and then...
 General
How to Optimize for AI Search in 2026: The Complete Guide
AI search has shifted from experimental feature to primary search method for millions of users. ChatGPT Search, Google AI Overviews, Perplexity, Claude, and Gem...
 General
Claude Opus 4.6 Review: Here's What New!
Claude Opus 4.6 from Anthropic draws attention because teams want an AI model that writes better code, follows instructions, and stays consistent across long se...